
One of the things I have come to appreciate most about climbing is looking back and reflecting on an adventure through writing. Here's a short piece I composed about a trip late last summer.
As a climber in Bellingham, I am afforded the opportunity to practice my craft on everything from beachside boulders at Larabee State Park to remote snow and ice climbs in the North Cascades. This array of potential routes is accompanied by an equally diverse set of skills needed to succeed on a given obstacle or intended climb. Ice climbing requires two curved ice axes, crampons, and hollow ‘ice screws’ to be used for creating anchor points. General rock climbing (or ‘free’ climbing) involves naturally moving upward with the help of sticky-rubber shoes, relying on the safety of a rope and self-placed anchors only in the event of a fall. Finally, ‘aid climbing’, the third major method of upward mobility, is used when the terrain is simply too steep, wet, or featureless to be climbed naturally. Aid climbing (or aiding), as denoted by the name, is used when one’s progress is in need of a little extra help. In this case, by temporarily setting various widgets, tapered nuts, and bolts into the stone, usable features are created. with small rope ladders to step upward, aiding is a complicated and tedious process requiring systematic use of one’s gear for progress, not just peace-of-mind. And although typically the domain of big-wall routes in places like Yosemite, alpine-centric climbers such as myself can often aid their way through a particularly hard section of a climb. I had been alternately nagging (via email) and bribing (via free beer) several local partners for the past year to teach me to aid. One of them inadvertently took me up on the offer.
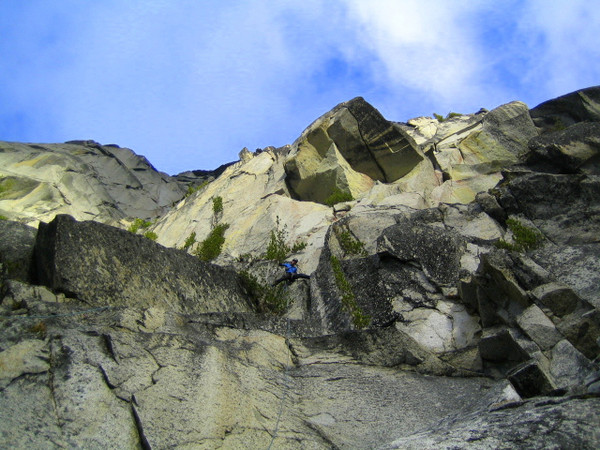
"Am I really about to do this?" shouted my partner Sol, squinting skeptically down at me. "Yeah man… no problem!" I holler, far more confident in his ability to lead than in mine to follow. The next section of our route -- a 25' as-yet-unclimbed horizontal overhang -- looms above the first few hundred feet of the west face of the peak Colchuck Balanced Rock (CBR). Huddled against the wind and drizzle on our prospective new route, I contemplate what will be my first attempt at aid climbing Perhaps I should have just bought the ‘how-to’ guide.
While my partner is an experienced aid climber, having done walls from Squamish B.C. to Zion National Park, I had been versed in basic concepts while chatting on the 7 mile approach hike the day before. I would frustrate us both by often using the term "thingy" to describe any number of newfound paraphernalia upon which my life would literally hang. Colchuck Balanced Rock sits 2,700' above the aquamarine waters Colchuck Lake, in the Enchantments Wilderness. Surrounded by Mt. Stuart, Prusik, and Dragontail peaks, this ever-popular area has seen a resurgence of activity, with several long and technically difficult routes ‘re-discovered’ or newly climbed. Nervously preparing to leave my small ledge, I question the prudence of trying to add one more.
The prominent overhangs and damp rock along this section of CBR had forced us to abandon plans to ‘free climb’ the route, and now we’d employ our full bag of aid tricks. And while Sol's bag bulged like our over-stuffed CiloGear pack, my aid expertise could have fit inside a zip-lock and still left room for lunch. 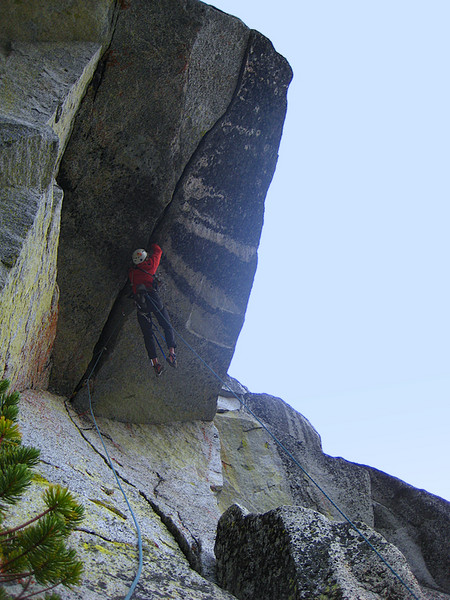 To climb such an overhang I would temporarily move past each piece of gear, in order to disconnect it from the rope and unweight it so that it could be removed from the rock. From the next ledge above the huge roof, Sol patiently shouted specific instruction down to me. Tying the pack onto our secondary haul rope, I processed his advice and tried to focus on each individual task, a focus made more difficult as I released the bag and watched it silently pendulum out into space. Breathing deeply, I hoped that wouldn't happen to me next.
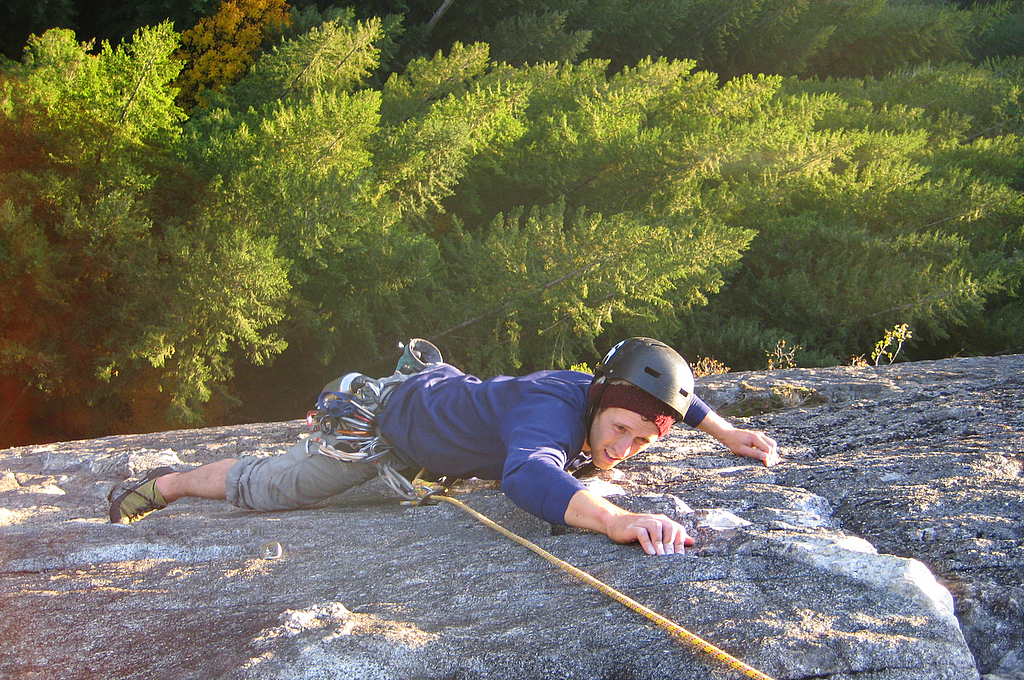
Working with some nylon slings, which we had tied into usable semblances of actual aid climbing gear, I struggled outward from the wall. My legs and feet had fallen asleep while hanging in my harness, and now stabbed awkwardly at my foot loops waving in the wind. As the crack in the rock above me narrowed and became more uniform, I began to leapfrog the same two camming devices, leaving only one piece of protection between me and an unintended alpine Tarzan impression. 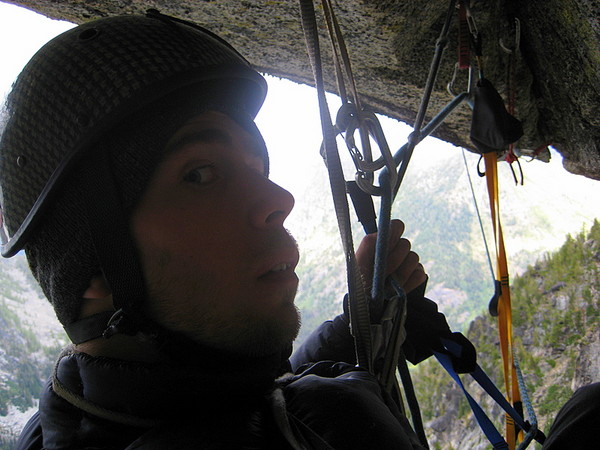 Cams would shift and settle against the wet granite I would nervously jump, angrily swearing at myself for being so nervously jumpy. Moving at self-described glacial speed, I continued to progress outward and upward, turning the lip of the roof and eventually reaching the ledge in a junkshow of unorganized gear and adrenalin. Here I met a wet and shivering partner who couldn't help but think that perhaps even the nearby Colchuck Glacier had outpaced me during this pitch.
From the ledge above the roof we found stone amenable to free climbing, and worked around occasional damp rock without incident. Up the rain-streaked headwall we again resorted to a mix of free and aid techniques, but the climbing here was vertical rather than horizontal, with one continuous crack system leading for several hundred feet straight up the face.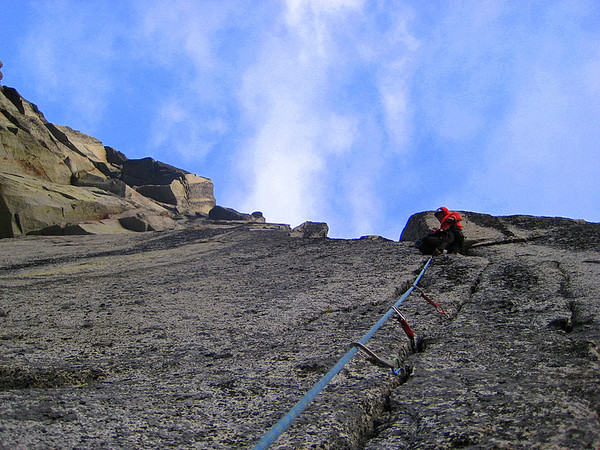 The aid climbing was straightforward, although not without a near 'incident' when -- frustratedly swinging at a stubborn piton -- I made the pick of my ice tool a bit too familiar with the taut climbing rope on which I hung. A final belay anchor, pieced together with the alpinist’s equivalent of chewing gum and bailing-wire, added superfluous excitement to the wall’s finale, a section eventually dispatched with halogenic help in the growing darkness.


